This week the Data Explorer team announced that a preview of their Excel add-in is now available! I’ve been meaning to try it out for a while, so I went ahead and downloaded the Office 2013 version then walked through some of the tutorials on the Office Help site.
Once the add-in is installed, it shows up under the DATA EXPLORER tab. The first set of buttons allow you to grab data from different sources. The options are similar to what you find under the DATA table, but there are some new additions as well.

I was recently going through the list of upcoming SQL Saturday events, and trying to decide which ones I might be able to attend. I thought this “data set” would make a good example for this post.
Clicking the From Web button in the ribbon brings up a box to enter your URL.

Once Data Explorer has loaded the page, it parses out any potential sources of data (i.e. tables) it finds on the page. The SQL Saturday Events page has two tables – one that shows upcoming events, and one that shows past events. Selecting the table shows you the data you’re working with.
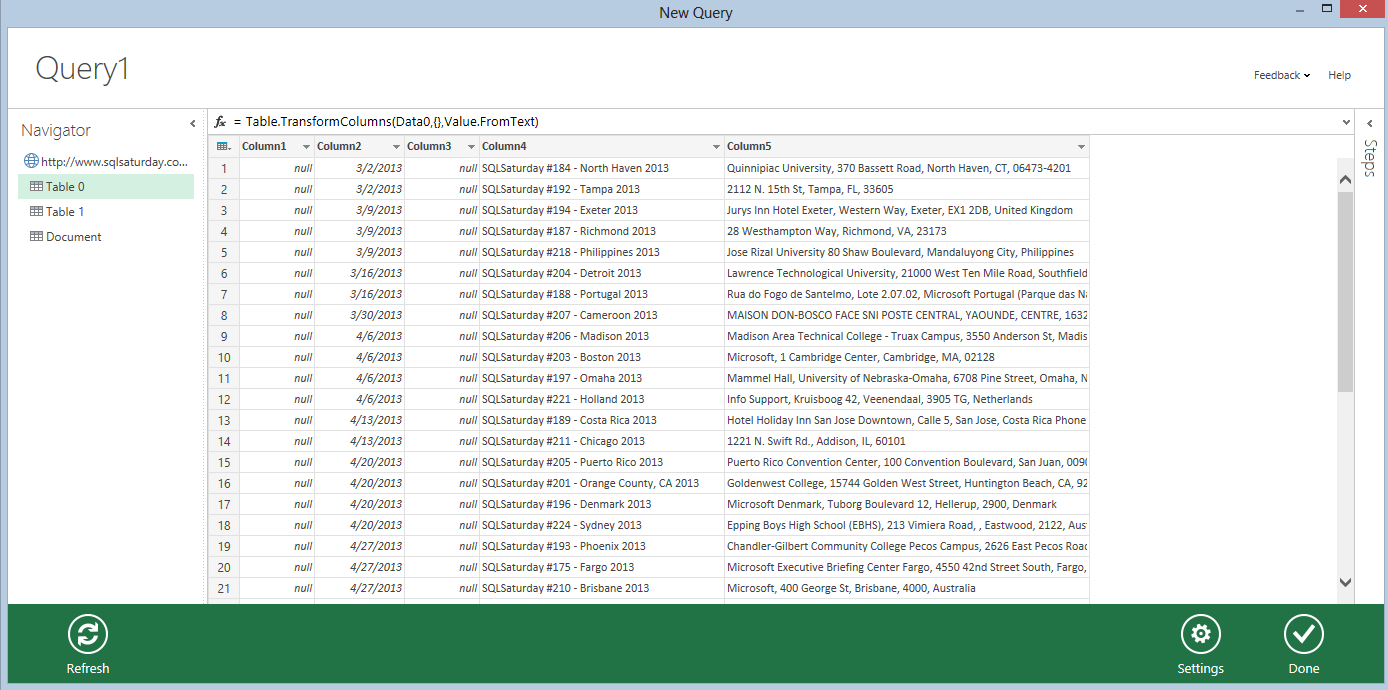
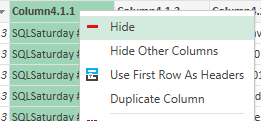
You can remove columns you don’t want/need by clicking on the column header to select it, right clicking, and selecting Hide Columns.

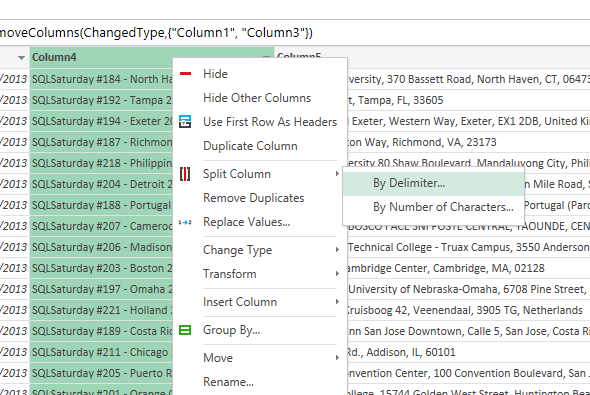
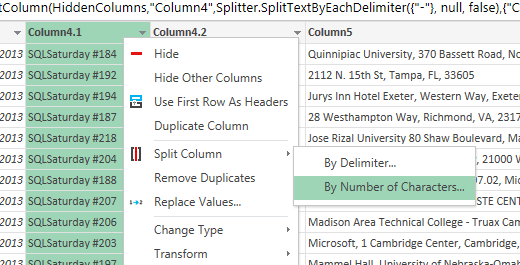
Parsing/splitting field values is pretty straight forward as well. Here I wanted to split the name of the event up into two fields – the event number, and the event title (city, year). To do this, you right click on the field and select Split Column.
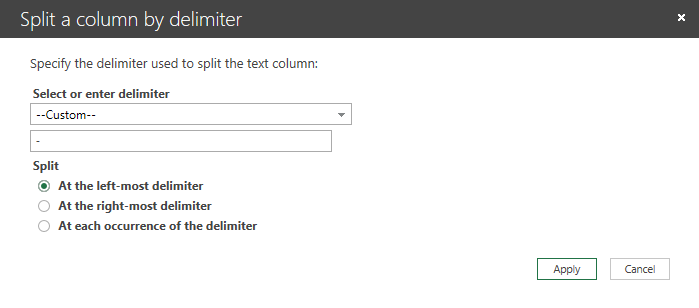
In this case, our field is consistently formatted, so we can simply split on a dash (-) character.
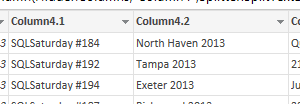
We now have two separate fields.
I didn’t want the “SQLSaturday #” prefix, so I used another split to give me the event number
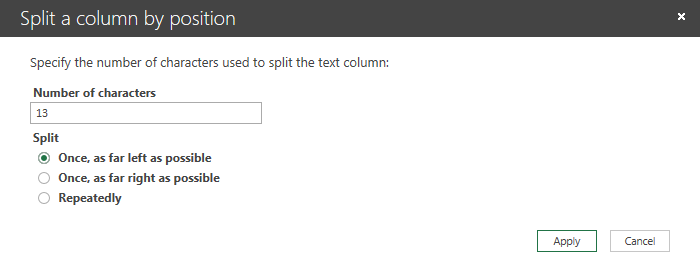
I then removed the first split column, as it was no longer needed.
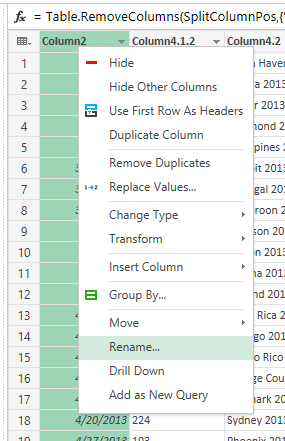
Data Explorer generates default column names (Column1, Column2), and you also have the option to use the first row as headers. My data didn’t have any headers in it, so I manually renamed the columns.
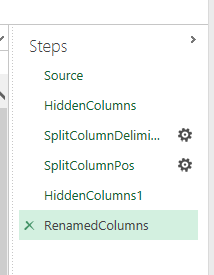
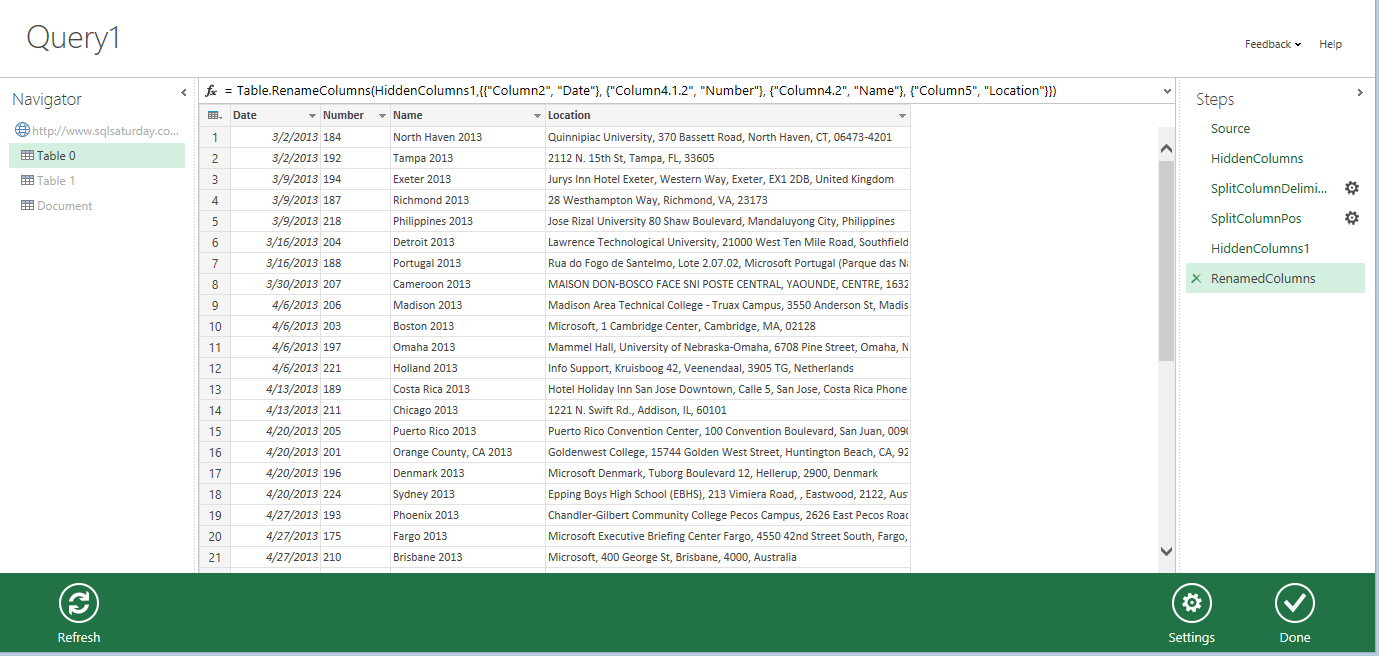
Each time you apply a transform in Data Explorer, it adds a “Step” to your process. You can view them all by expanding the Steps tab on the left hand side of the window. Clicking on various steps will show you what the data looks like in each stage. You can view the formula that is being applied as well. I’m sure advanced users will play directly within the formula bar, but most of the options you’ll need are exposed through the UI.
After renaming all the columns, my data looks like this:
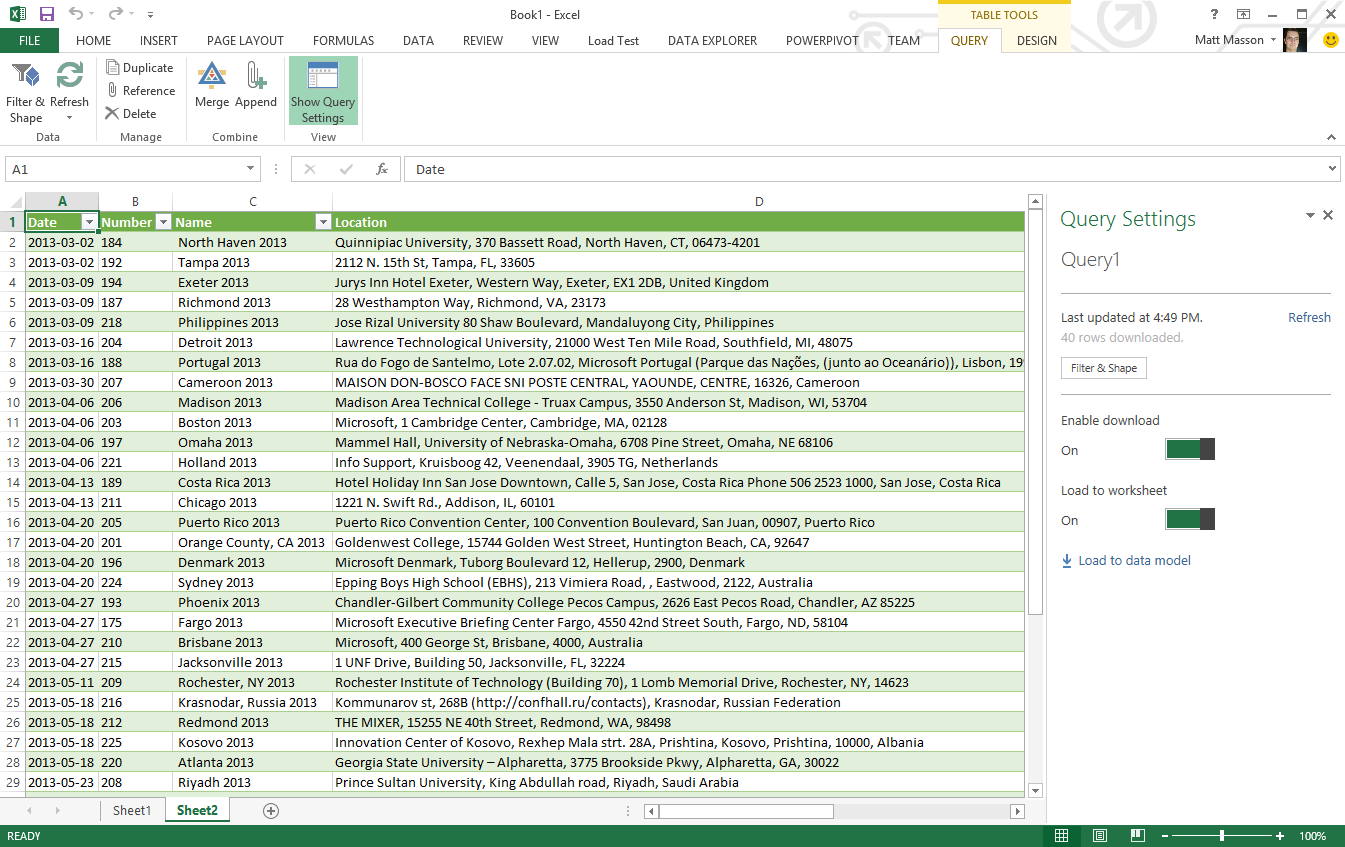
When I click the Done button, a new sheet is added in Excel with the query I just built. I can provide a friendly name for the query, as well as modify it and refresh the data.
For review, my queries at each step were:
| Source | = Table.TransformColumns(Data0,{},Value.FromText) |
| HiddenColumns | = Table.RemoveColumns(ChangedType,{“Column1”, “Column3”}) |
| SplitColumnDelimiter | = Table.SplitColumn(HiddenColumns,”Column4″,Splitter.SplitTextByEachDelimiter({“-“}, null, false),{“Column4.1”, “Column4.2”}) |
| SplitColumnPos | = Table.SplitColumn(SplitColumnDelimiter,”Column4.1″,Splitter.SplitTextByPositions({0, 13}, false),{“Column4.1.1”, “Column4.1.2”}) |
| HiddenColumns1 | = Table.RemoveColumns(SplitColumnPos,{“Column4.1.1”}) |
| RenamedColumns | = Table.RenameColumns(HiddenColumns1,{{“Column2”, “Date”}, {“Column4.1.2”, “Number”}, {“Column4.2”, “Name”}, {“Column5”, “Location”}}) |
Overall, I’m really liking the Data Explorer experience so far. I think the team has done an excellent job in providing a UI that is easy and intuitive. Looking at the formula language, I can see that there is a lot of capabilities behind it as well.
In my next post, I’ll explore more of the more advanced functionality.
Thank you Matt,
it is a very informative how-to blog post; cannot wait for a more advanced use demonstrated.
It is a big selling point IMO to Office 2013, and indefensible for those slicing data in Excel.